
Transition days for primary schools give a flavour of the amazing opportunities in secondary school science. What better way to showcase the science department and inspire a life long love of science?
But which demonstrations to choose? Our in house technicians have supported many transition days in their school science technician careers and have chosen awe inspiring activities to create a life long love of science.
Biology: Introduction to Microscopy
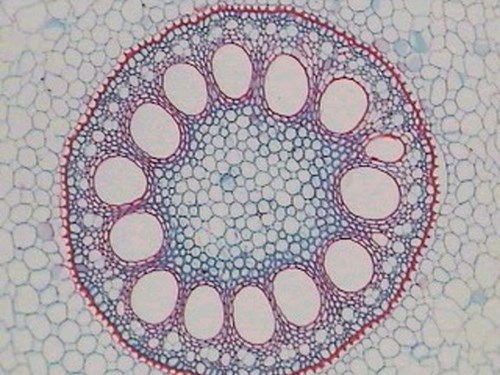
A diagram of a microscope could be provided for students to label. Some prepared slides could be provided so students can be familiarised with the workings of a microscope before they come to use these at Key Stage 3. Some magnified microscope images could also be provided for students to try and identify the magnified items. If preferred, some household items could be provided for students to make their own slides with and examine the items under the microscope. Items could include hair samples, sugar, salt, sand, cotton fibres or coloured feathers.
To create a wow-factor, a microscope and Flexview digital USB microscope could be set up with a live daphnia under it and it can be projected
Before the open day, purchase a packet of live daphnia from your local pet supplies shop. Connect the Flexview digital microscope to a computer via USB, to project the view down the microscope onto the whiteboard for a live image.
You could set up a small petri dish containing a large number of the daphnia and the water they are contained in, then place this underneath the Flexview digital microscope, focussing it so they can be seen swimming around in the petri dish on the projector screen. Or you could use a plastic pipette (with the fine end cut off) to transfer a single daphnia onto a microscope cavity slide along with a few hairs of cotton wool (to immobilise the daphnia). Connect the Flexview to a computer via USB and project onto the whiteboard for a live image of the daphnia.
If using a single daphnia, be sure to refresh the slide every so often to prevent the daphnia from drying out. Have a discard pot available for used slides and pipettes.
You will need
M100FLED microscope
Flex-View digital microscope
Cavity slides
Petri dishes
Plastic pipettes
Cotton wool
The digestive journey slide set
Physics: Simple Circuits
Young students like the opportunity to have a play with some simple circuitry equipment. Our new Basic Electricity Kits (BEK) by Unilab are ideal for this. The kits have been redeveloped recently to include an array of circuit components which relate to the relevant Key stage science curriculum and include comprehensive activity sheets. The kits can be provided to students so they can follow the included activity sheets, or they can have a go at making their own circuits using the equipment.
The circuit equipment will need fully checking before the transition sessions to ensure everything is in working order.
You will need
Key stage 3 BEK kit – for a group of 3 students, or
Key stage 3 BEK kit – for a class of 30 students
Chemistry: Investigating Indicators
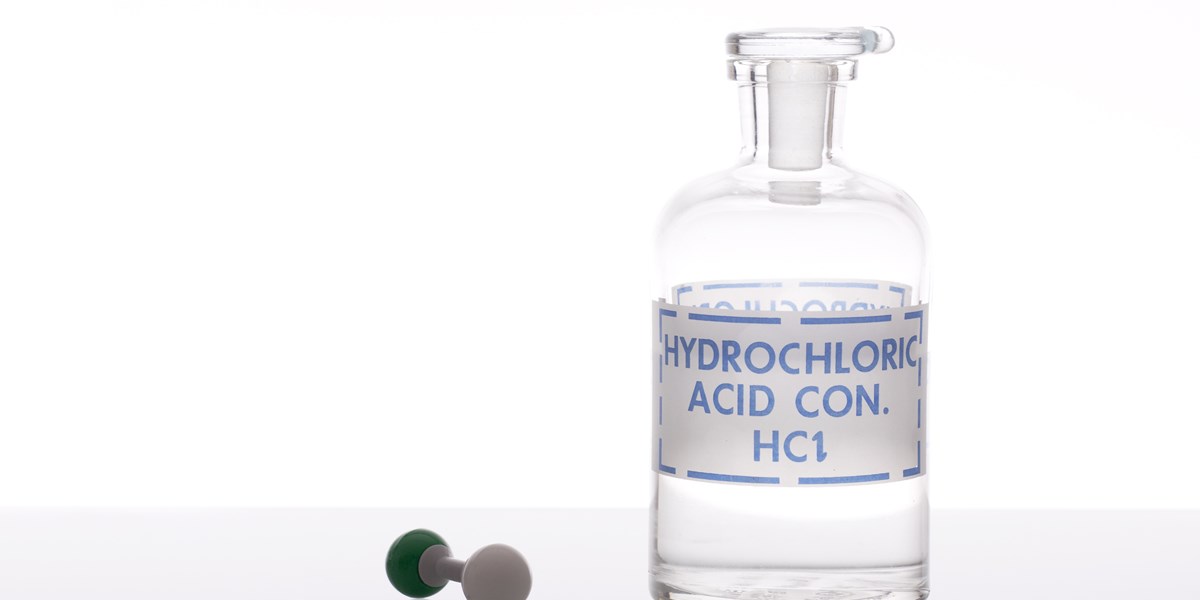
An excellent experiment for introducing students to the acids and alkalis topic is investigating indicators. The teacher could demonstrate how to extract natural indicators from fruit, vegetables or flower petals (for example: raw red cabbage – not pickled, raw or cooked beetroot, red rose or geranium petals and blackberries) and the resulting indicators could be provided for students to test some household substances with.
Safety goggles should be provided for when the students are testing the indicators.
The chosen fruit or vegetable material is chopped and ground in a pestle and mortar. Hot water is added to the beaker and left for 10 minutes (this step could be done in advance of the transition lesson). The mixture is then poured through a filter funnel and filter paper or similar and is collected into a new beaker.
Each group can be given a small sample of the indicator liquid and can be provided with small, labelled sample bottles containing household substances (e.g., lemon juice, bicarbonate of soda solution, vinegar, milk of magnesia). A laminated spotting tile can be produced for ease of application of the samples.
You will need
Safety goggles
Polypropylene beaker 500ml
Pestle and mortar
Small sample vials / McCartney bottles
Plastic pipettes
Filter funnel
Filter paper
Spotting tiles
Science Toys Circus
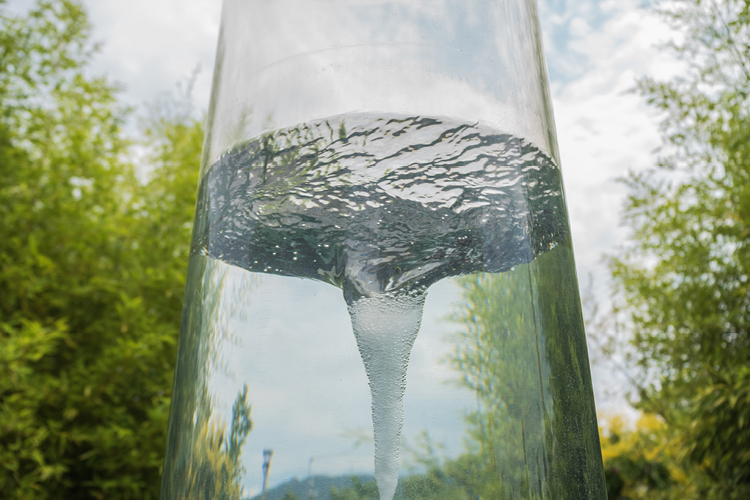
Various toys can be used to introduce students to the wonder and awe of science, whilst having a bit of fun with the equipment. One of our favourites is the tornado in a bottle device which is a great visual demonstration of a tornado. Simply connect two bottles together, one filled with water and other empty. Turn the joined bottles so the water filled bottle is on top, swirl the water round and round, then watch what happens. Only a small amount of water flows into the lower bottle because of the reduced pressure above. By swirling the upper bottle in circles, water begins to pour again and a vortex is created.
For extra impact, you could add coloured liquid and / or glitter to your tornado.
Some toys to include in your science circus include
Tornado in a bottle

